Keeping your dog’s nails trimmed is an essential part of their grooming routine. Overgrown nails can cause discomfort, difficulty walking, and even lead to more serious issues like infections or deformities. While many dog owners are hesitant to trim their dog’s nails for fear of causing pain or injury, with the right approach and technique, it can be a straightforward and stress-free process for both you and your furry friend. Here’s a step-by-step guide on how to safely trim your dog’s nails:
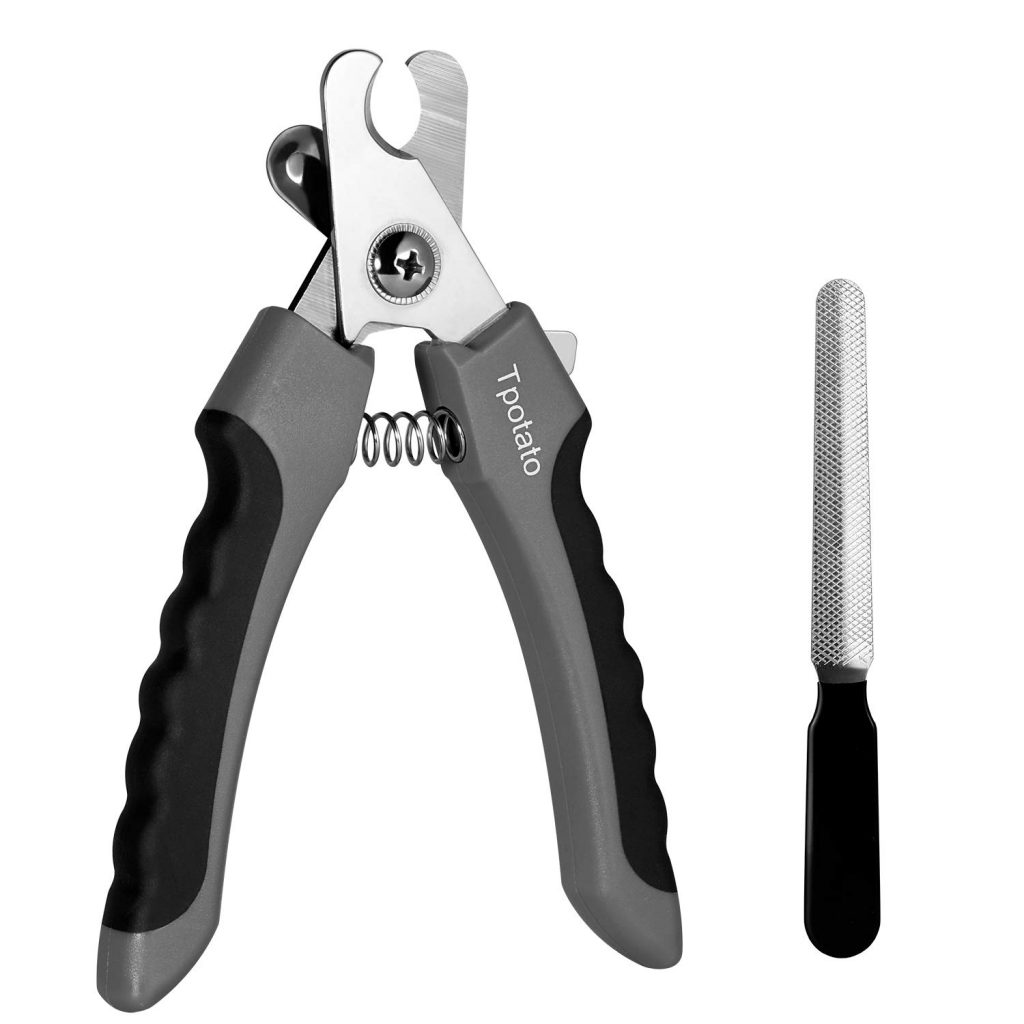
Gather Your Supplies: Before you begin, make sure you have all the necessary supplies on hand. You will need a pair of dog nail clippers (either guillotine-style or scissor-style), styptic powder or a styptic pencil (to stop bleeding in case you accidentally cut the quick), and treats to reward your dog for their cooperation.
Choose the Right Time: Pick a time when your dog is calm and relaxed. Avoid trimming their nails when they’re excited or anxious, as this can increase the likelihood of accidents.
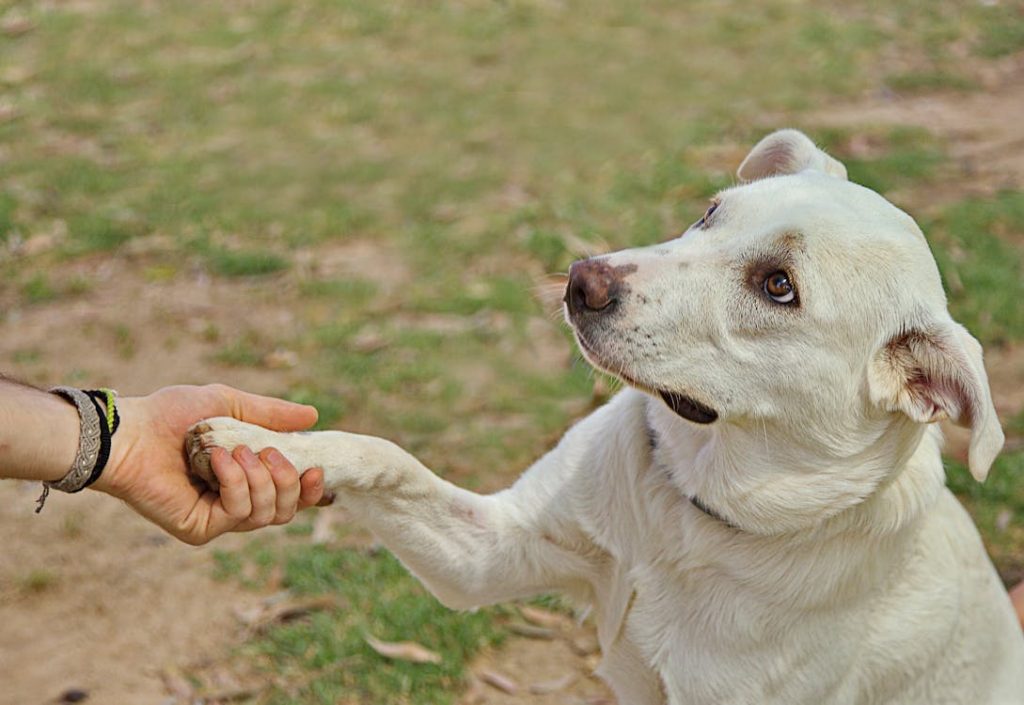
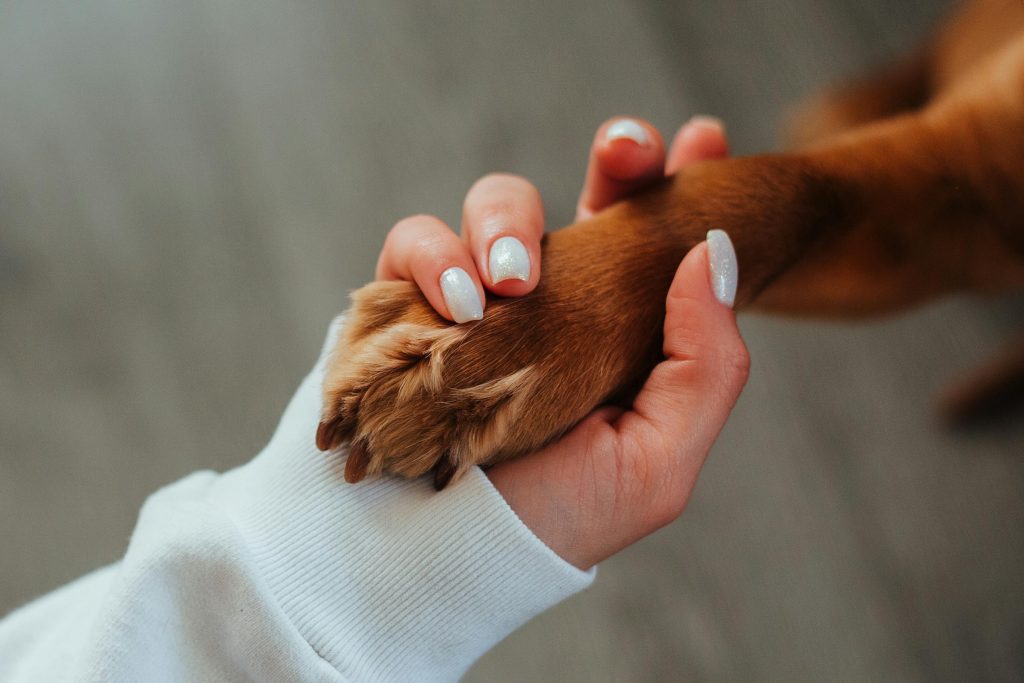
Get Your Dog Comfortable: Help your dog get comfortable with the process by handling their paws regularly. Gently touch and massage their feet, and reward them with treats and praise to create positive associations.
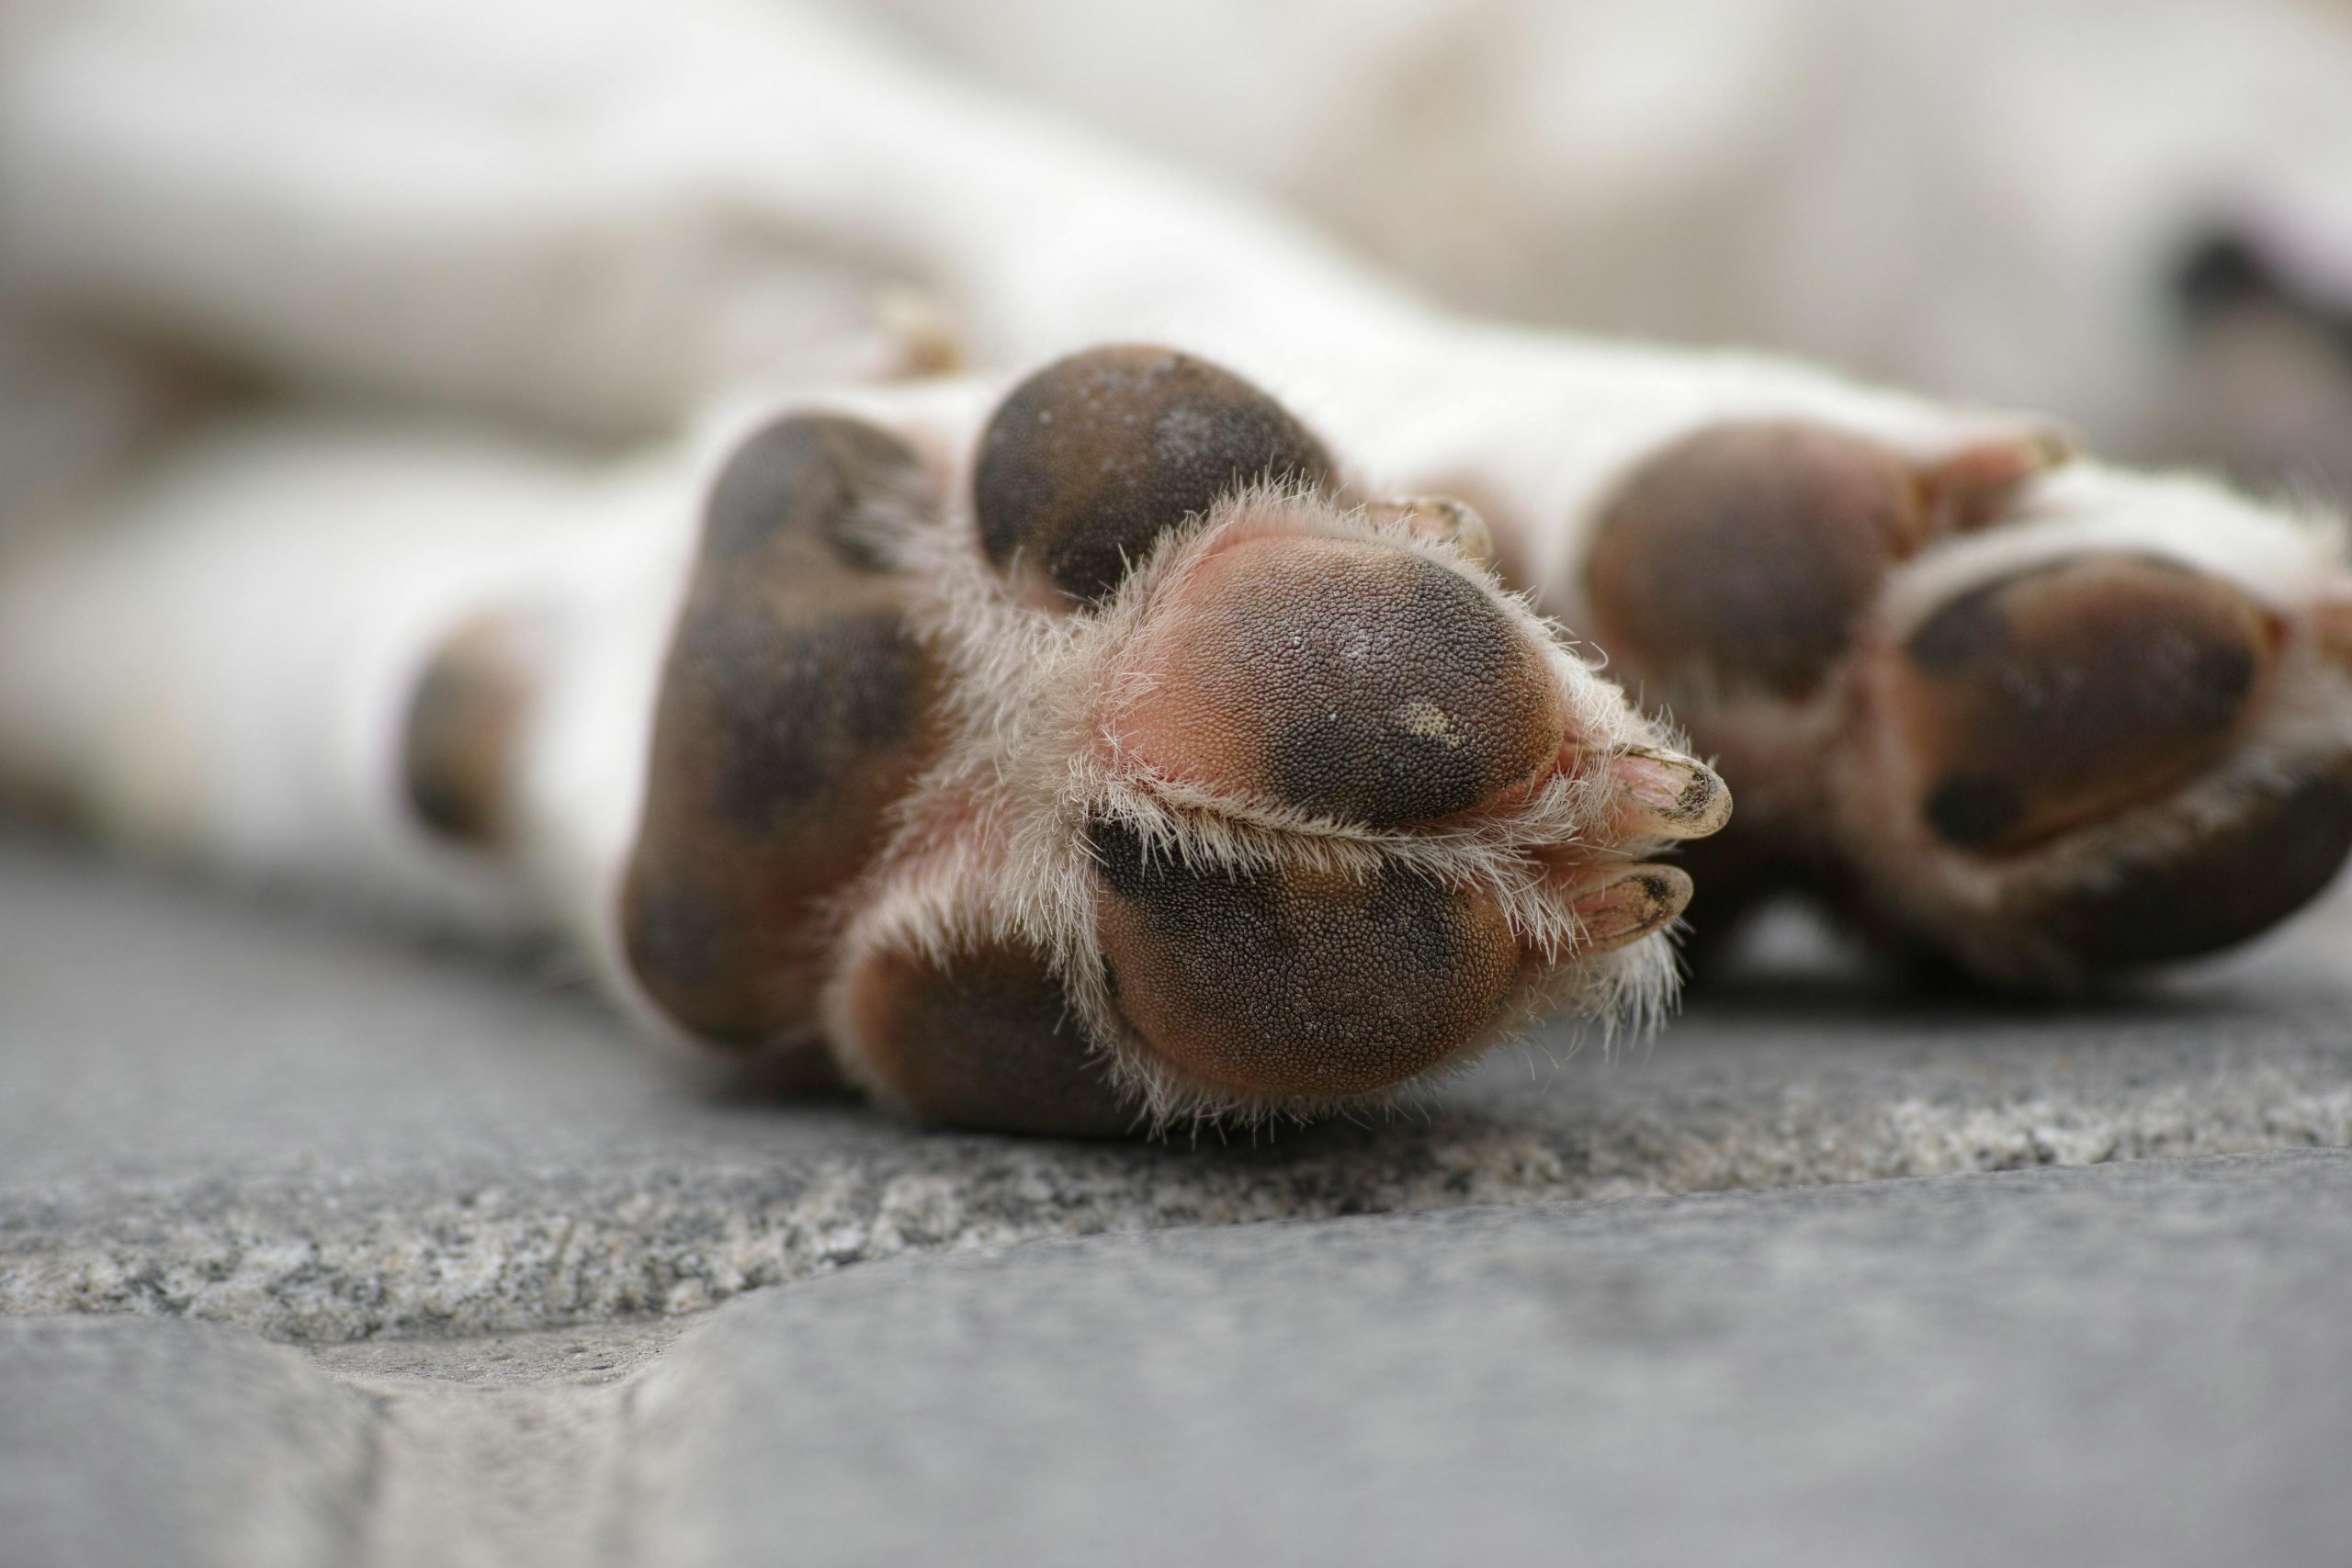
Identify the Quick: The quick is the pink area within the nail that contains blood vessels and nerves. Be cautious not to cut into the quick, as it can be painful and cause bleeding. In dogs with light-colored nails, the quick is easily visible, appearing as a pinkish area. However, in dogs with dark-colored nails, it can be more challenging to identify. Shine a light through the nail to help locate the quick, or trim small amounts of the nail at a time until you see a black dot in the center – this indicates you’re nearing the quick.
Trim Small Amounts: Start by trimming a small amount of the nail at a time. It’s better to trim too little than too much, as you can always trim more if needed. Focus on the curved part of the nail and avoid cutting into the quick. Use quick, decisive motions to minimize discomfort for your dog.
Use Proper Technique: Hold your dog’s paw firmly but gently, and position the clippers at a 45-degree angle to the nail. Trim in small, straight cuts, rather than attempting to clip the entire nail in one go. If you’re using guillotine-style clippers, place the nail through the hole in the tool before squeezing the handles to make the cut.
Reward Your Dog: Throughout the process, offer plenty of praise and treats to reward your dog for their cooperation. This positive reinforcement will help them associate nail trimming with a positive experience.
Be Prepared for Bleeding: Accidents can happen, and you may accidentally cut the quick, resulting in bleeding. If this occurs, remain calm and apply styptic powder or a styptic pencil to the tip of the nail to stop the bleeding. If bleeding persists or if you’re unsure, consult your veterinarian for further assistance.
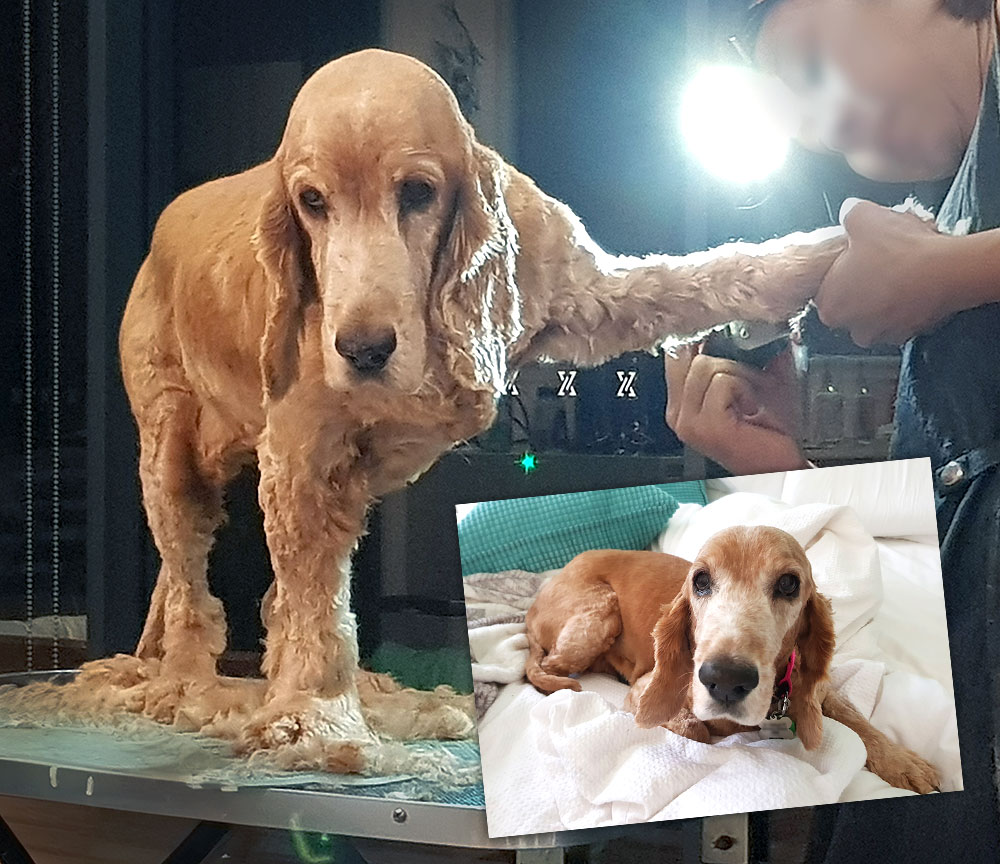
Take Your Time: Don’t rush the process. If either you or your dog becomes stressed or uncomfortable, take a break and try again later. It’s essential to maintain a calm and patient demeanor to ensure a successful nail trimming session.
Regular Maintenance: Aim to trim your dog’s nails every 2-4 weeks, depending on their rate of growth. Regular maintenance will help prevent overgrown nails and maintain your dog’s paw health.
By following these steps and practising patience and caution, you can safely trim your dog’s nails at home, promoting their comfort and well-being while maintaining their overall health. If you’re unsure or uncomfortable trimming your dog’s nails yourself, don’t hesitate to seek guidance from a professional groomer or veterinarian. With a little practice and the right approach, nail trimming can become a routine part of your dog’s grooming regimen.
